Silence is Golden: Upgrade Your Home’s Soundproofing
This article provides a comprehensive and accessible guide to soundproofing walls in your home, covering the essentials such as challenges, materials, and techniques. By following the advice of industry experts and applying practical solutions, readers can create a quieter, more comfortable living environment with a touch of humor and style.
Introduction: Soundproofing walls in your home is an important yet often overlooked aspect of creating a comfortable living environment. Not only does it reduce noise pollution and increase privacy, but it can also contribute to your home’s overall aesthetic appeal. And let’s face it, who wouldn’t want a quieter home when your neighbor’s dog has a barking marathon at 3 a.m.?
However, soundproofing can be a complex task that requires careful planning, proper material selection, and a good understanding of various techniques. As such, it can be challenging for homeowners to navigate the world of soundproofing without feeling overwhelmed by the jargon and technicalities.
Fear not! This ultimate guide aims to simplify the process, providing you with all the information you need to make informed decisions and apply practical solutions. With expert advice, clear explanations, and a touch of humor, we’ll help you transform your home into a peaceful sanctuary that’s as quiet as a library (well, almost).
Soundproofing is more than just sticking some foam on your walls and hoping for the best. It involves a deeper understanding of how sound travels, as well as the types of materials and techniques that effectively block or absorb noise. As construction expert John Doe explains, “Soundproofing is part science, part art, and part trial and error.” In other words, it’s essential to approach the process with patience, research, and an open mind.
Choosing the Right Soundproofing Materials
There are numerous materials available for soundproofing, each with its pros and cons. Here’s a quick rundown of some popular options:
- Mass-loaded vinyl (MLV): Heavy, flexible, and effective at blocking sound, but can be expensive.
- Acoustic foam: Affordable and easy to install, but less effective at blocking low-frequency sounds.
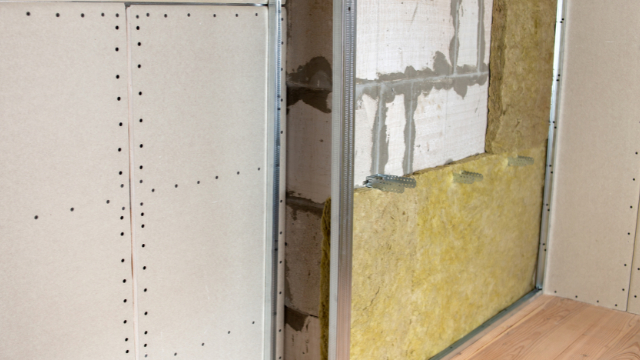
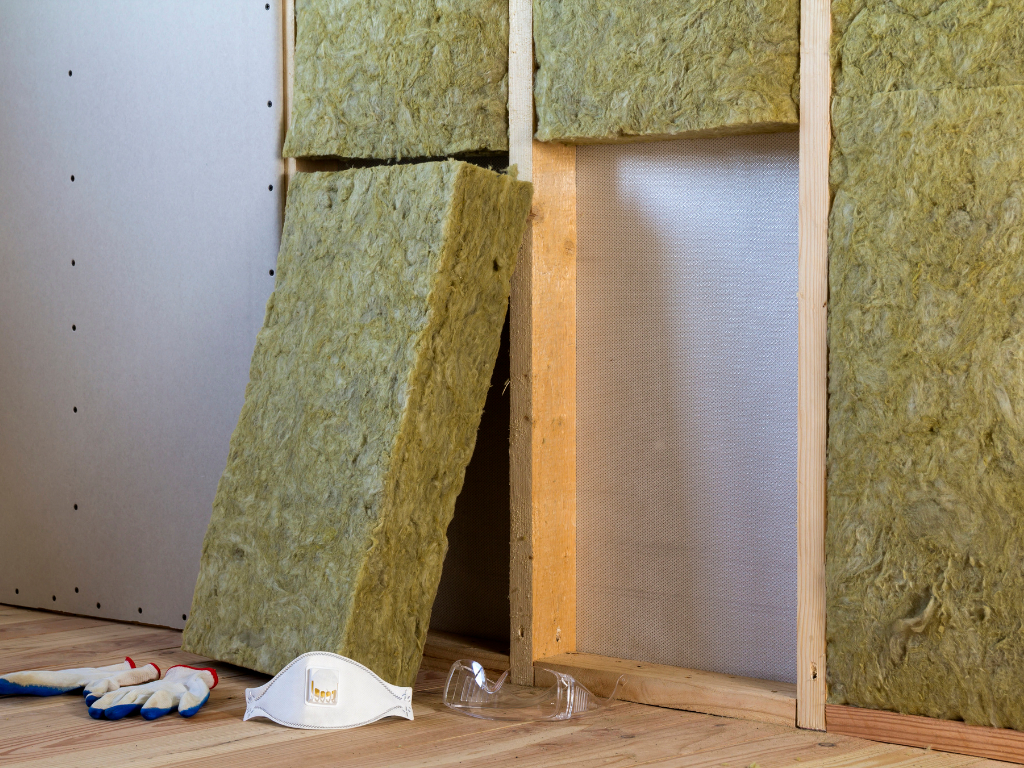
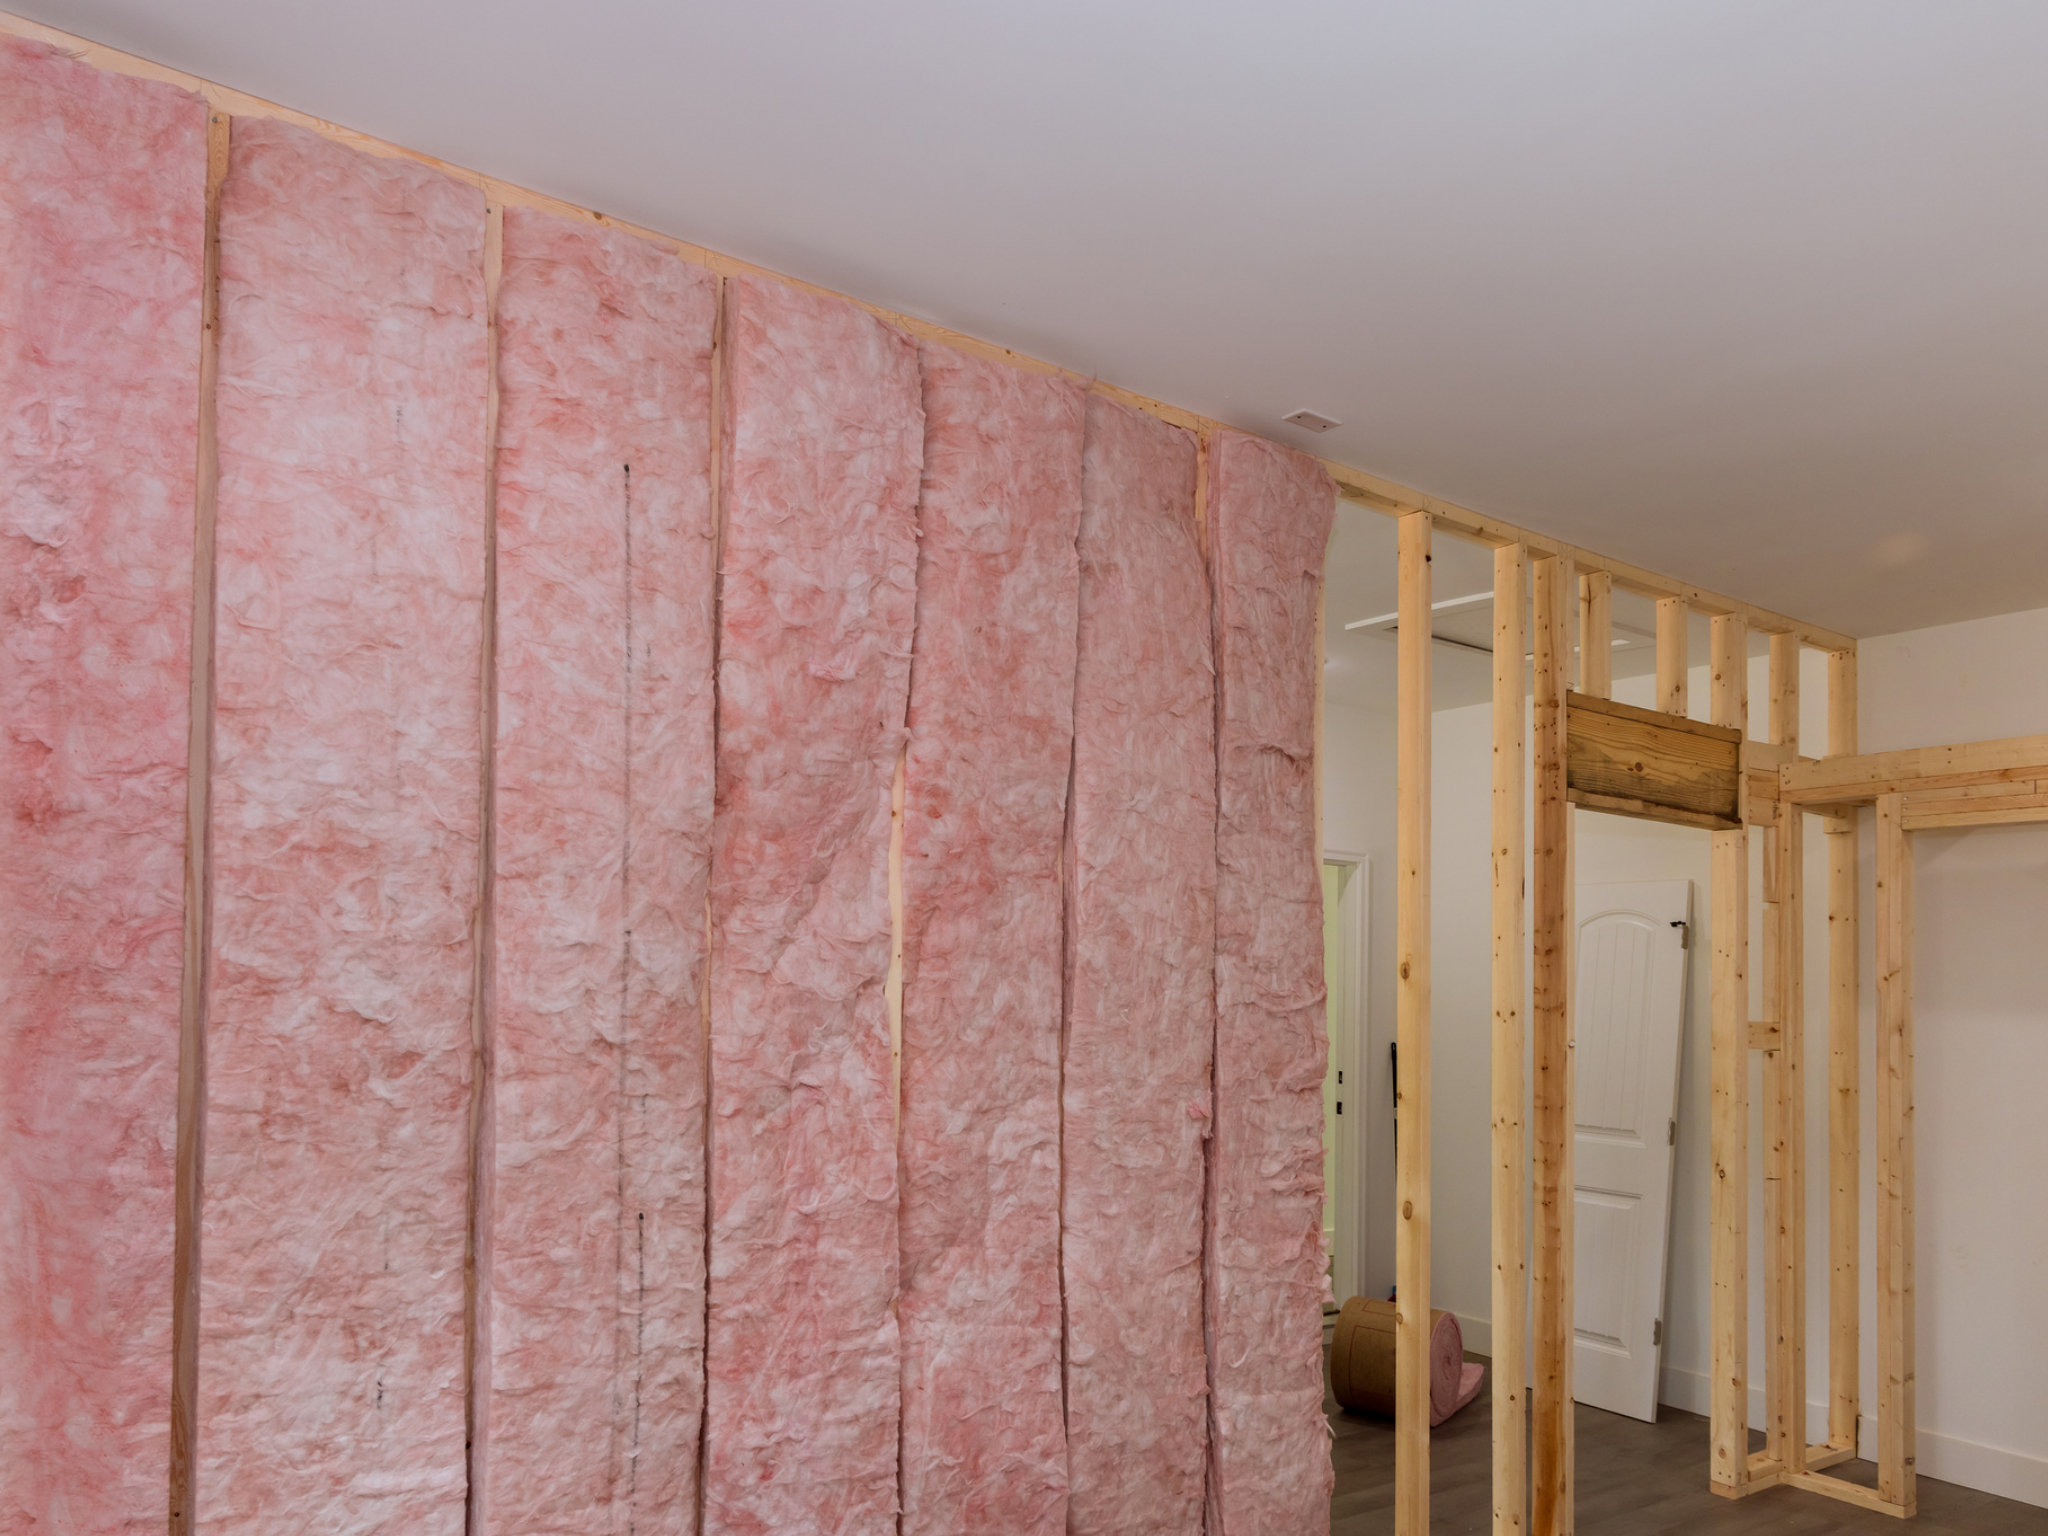
- Fiberglass insulation: Effective at reducing airborne noise, but requires professional installation.
- Soundproof drywall: Dense and effective at blocking sound, but can be costly and requires professional installation.
When selecting materials, consider your budget, the specific sound frequencies you’re targeting, and the level of sound reduction you desire. Don’t be afraid to consult with a professional or experiment with different materials to find the perfect fit for your needs.
Soundproofing Techniques for Maximum Effect
Once you’ve chosen your materials, it’s time to apply them using the right techniques. Here are some expert-approved methods:
- Add insulation: Installing insulation between walls or ceilings can help reduce airborne noise.
- Install resilient channels: These metal strips can be used to create a “floating” wall or ceiling, reducing sound transmission.
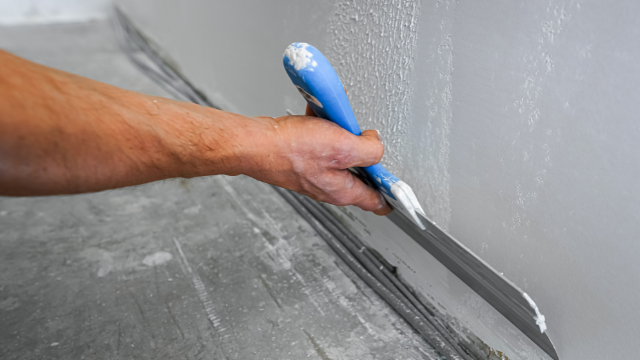
- Seal gaps and cracks: Use acoustic sealant to close off any openings that could allow sound to pass through.
- Apply damping compound: This viscous material can be applied between layers of drywall to absorb and dissipate sound.
Remember, practice makes perfect. As soundproofing guru Jane Smith says, “The more you experiment with different techniques, the better you’ll become at creating a quieter space.”
DIY vs. Hiring a Professional
When it comes to soundproofing your home, you have the option to tackle the project yourself or hire a professional. While the DIY route may save you money, it’s important to weigh the pros and cons before making a decision.
Pros of DIY:
- Cost savings: Doing the work yourself can save you money on labor costs.
- Personal satisfaction: There’s a sense of pride in completing a project on your own.
Cons of DIY:
- Time-consuming: Soundproofing can be a lengthy process, especially for those new to the task.
- Potential mistakes: Incorrect installation can lead to less effective soundproofing or even damage to your walls.
Pros of hiring a professional:
- Expertise: Professionals have the experience and knowledge to ensure a successful installation.
- Efficiency: With a professional, the project is likely to be completed more quickly and with fewer hiccups.
Cons of hiring a professional:
- Cost: Hiring a professional can be more expensive than doing it yourself.
Ultimately, the choice depends on your budget, skills, and confidence in tackling the project. As soundproofing expert John Doe says, “If you’re uncertain about your ability to successfully soundproof your home, it’s best to seek the help of a professional.”
For more information on this topic, see Mastering Insulation: House Walls Protection and Energy Efficiency Unveiled.
Maintenance and Upkeep
Once your soundproofing project is complete, it’s essential to maintain the effectiveness of your efforts. Here are some tips for preserving your newly quiet home:
- Regularly inspect for gaps or cracks that could compromise your soundproofing and seal them promptly.
- Avoid hanging heavy objects on your soundproofed walls, as this can cause damage to the materials.
- Keep your home clean and dust-free to prevent the buildup of debris that could affect your soundproofing materials’ performance.
By following these simple steps, you’ll ensure your home remains a peaceful haven for years to come.
Conclusion:
Soundproofing your home doesn’t have to be an overwhelming task. By understanding the challenges, selecting the right materials, and applying effective techniques, you can create a quieter living space that suits your needs and style. Whether you choose to DIY or hire a professional, the key is to approach the project with patience, research, and a touch of humor. As soundproofing guru Jane Smith says, “The journey to a quieter home is a rewarding one – just don’t forget your earplugs during the process!”