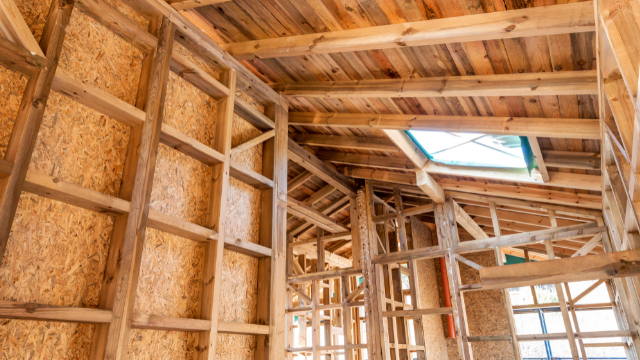
Building a house or adding a new structure often involves ensuring that everything is securely attached. One of the vital steps in this process is attaching frames to the foundation. Why is this so important? Well, the foundation is what gives our house stability. It’s the rock (often literally!) upon which our home stands. Here’s a simple guide to ensure you nail this process (pun intended!).
The Importance of Proper Attachment
Before we dive into the how-to, it’s essential to understand why proper attachment is so vital. A well-attached frame can mean the difference between a house that stands strong through storms and time and one that, well, doesn’t. Properly attaching the frames ensures:
- Stability: A house that doesn’t wobble or creak.
- Durability: A structure that can stand the test of time.
- Safety: An environment where you and your family can feel secure.
Tools and Materials You’ll Need
Alright, let’s gear up! Before starting, gather the following:
- Tape measure: For precise measurements.
- Carpenter’s square: To make sure everything is at a right angle.
- Drill: To make those necessary holes.
- Anchor bolts: These will help secure the frame to the foundation.
- Washer and nuts: To tighten everything in place.
Step-by-step: Securing that Frame
1. Measure the Foundation:
- Begin by stretching your tape measure across the foundation.
- Place it along the path of where you anticipate the anchor bolts to be.
- Jot down the distances between these bolts and how far they are from the foundation’s edge.
2. Ready the Wall Frame’s Sill Plate:
- Stretch out that tape measure across the sill plate’s length.
- Mark the exact spots where you’ll need the bolts to go through.
3. Precision is Key:
- Place your trusty carpenter’s square against the sill plate’s edge.
- Align it with each bolt mark.
- Use the square’s straight edge to remark bolt locations, ensuring precision.
4. Drilling Time:
- Drill holes where you’ve marked on the sill plate.
- Repeat the process for the wall frame’s bottom plate. Remember, these holes should match up perfectly.
5. Place the Sill Plate:
- Carefully position the sill plate so it aligns with the anchor bolts.
6. Hoist and Align:
- Lift that wall frame over the bolts.
- Ensure its bottom plate sits nicely on the sill plate.
- Take a moment here to check alignment. The edges and ends of the plates should meet perfectly.
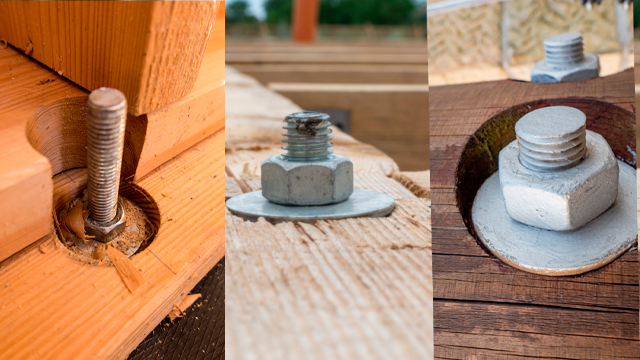
7. Secure Everything in Place:
- Pop a washer onto each anchor bolt.
- Twist the nuts into place and tighten them using a wrench. Make sure it’s snug but not overly tight.
Wrapping It Up
Attaching frames to the foundation may seem like a meticulous task, and in many ways, it is. However, with the right tools, a bit of patience, and this guide by your side, you’ll have a structure that’s not just well-built but also stands tall and proud for years to come. Remember, it’s all about the foundation!
Source: itishouse.com